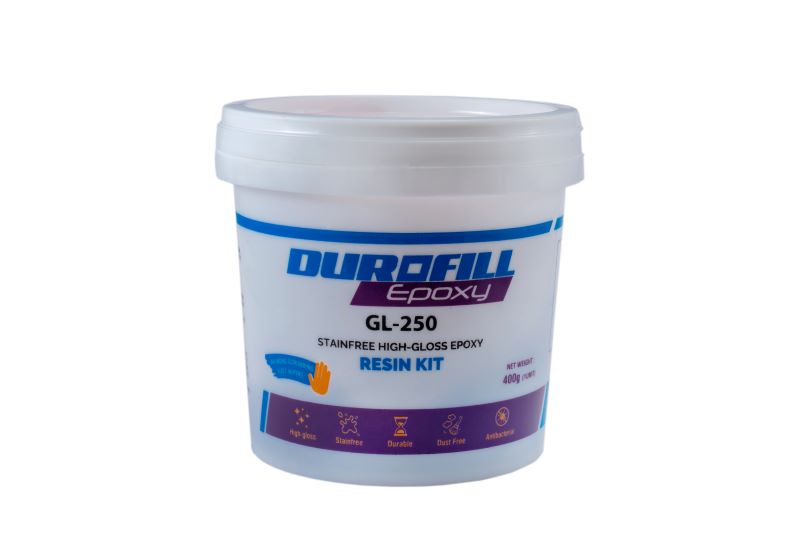
Our dream is to have a glowing tile floor. So, what’s holding us back? Nothing can stop us from creating a dream space—our home—clean and radiant. Introducing the ultimate solution: Durofil Glass Epoxy or Glass Bond Epoxy. These products are easy to clean, stain-free, highly durable, and even antibacterial, offering a glass-like finish that serves as the perfect all-in-one solution for your tile floors. Many wonder how to use Durofil Glass Epoxy or Glass Bond Epoxy effectively, but there’s no need for confusion. Here’s the easy, step-by-step method to transform your floors with ease
Table of Contents
Process for Using Glass Epoxy or Glass Bond Epoxy
Materials Needed
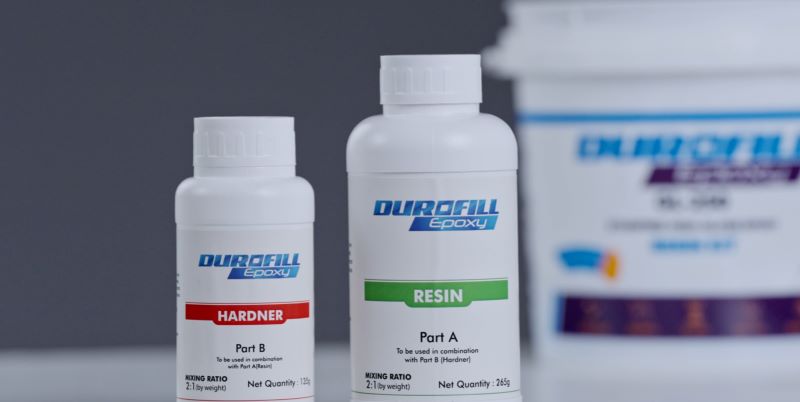
Resin (270g), Hardener (135g)
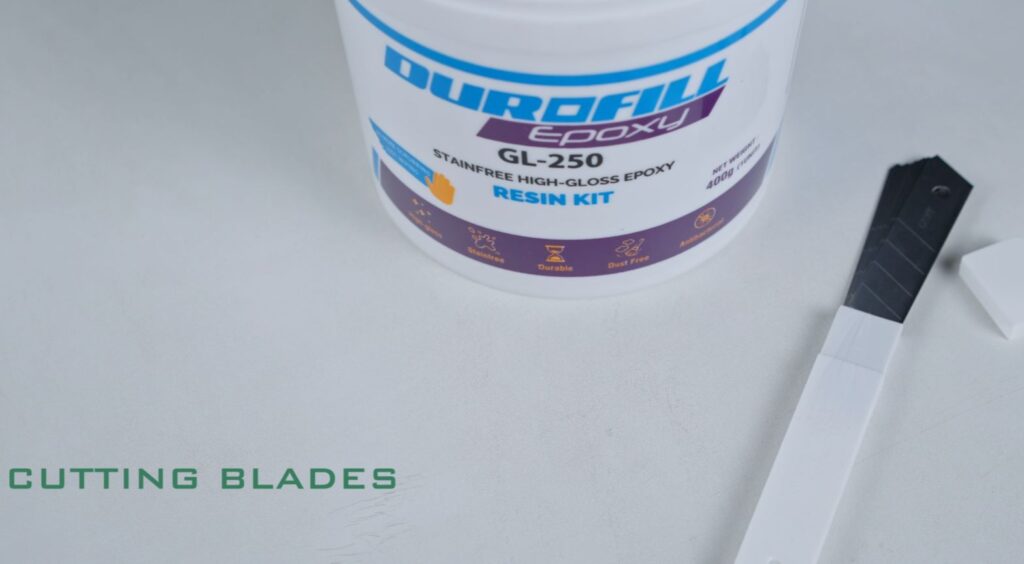
Cutting Blades
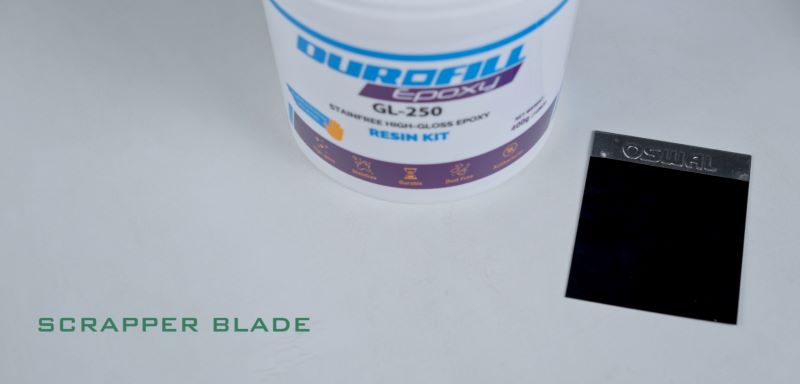
Scraper Blade
Measuring Cups
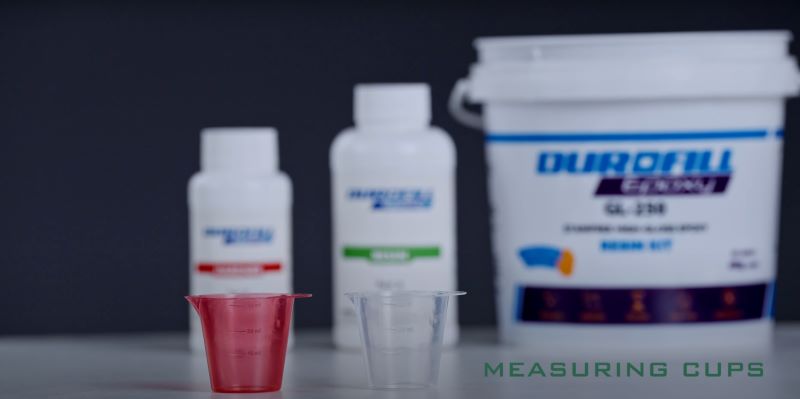
Gloves

Epoxy Dispensers
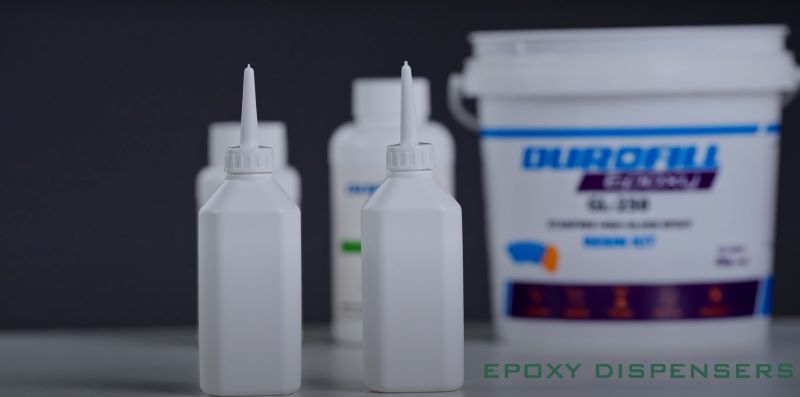
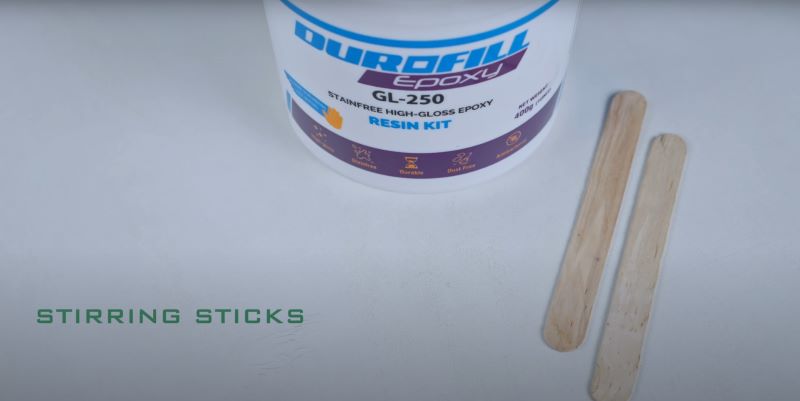
Mixing Sticks
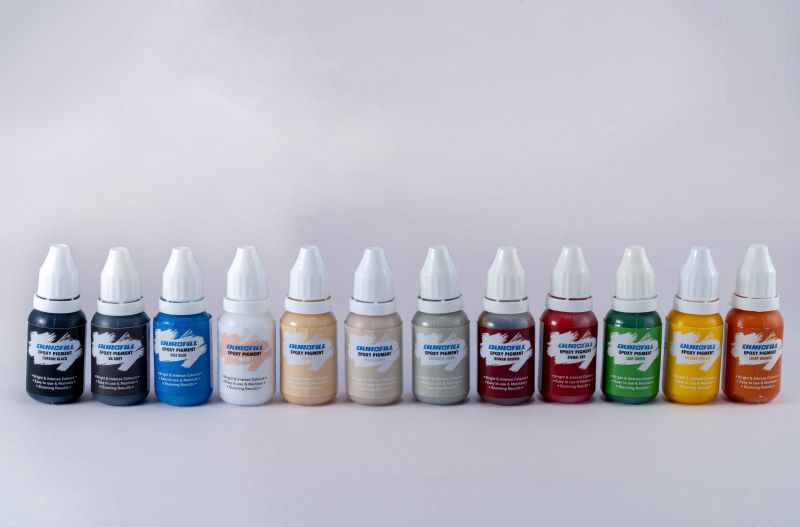
Pigments
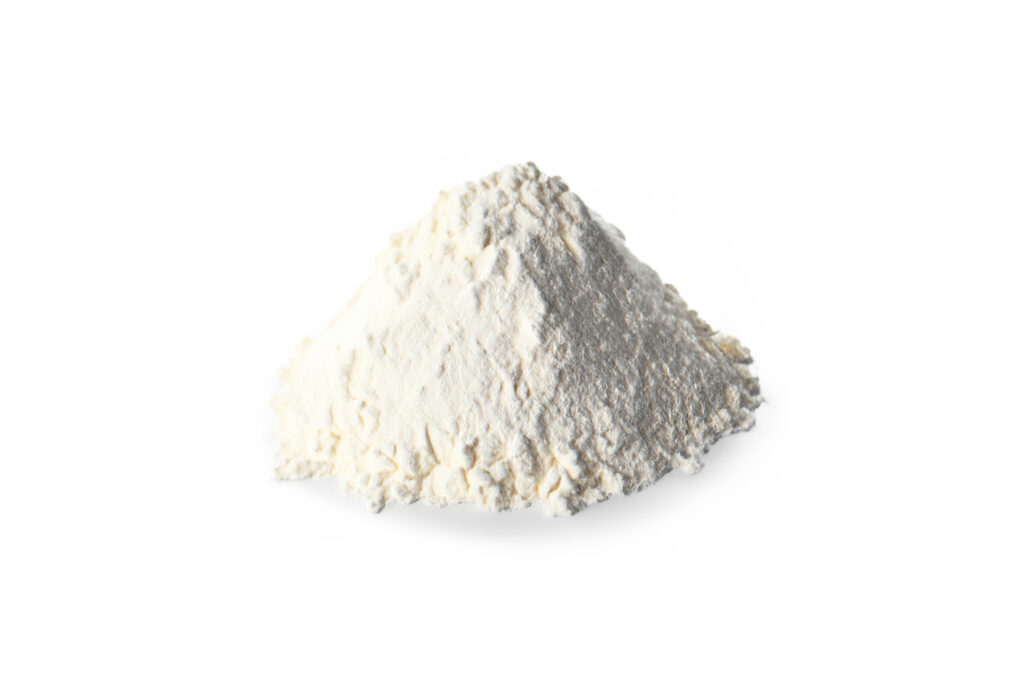
White Cement
Water

Application Process
Step 1: Prepare the Surface
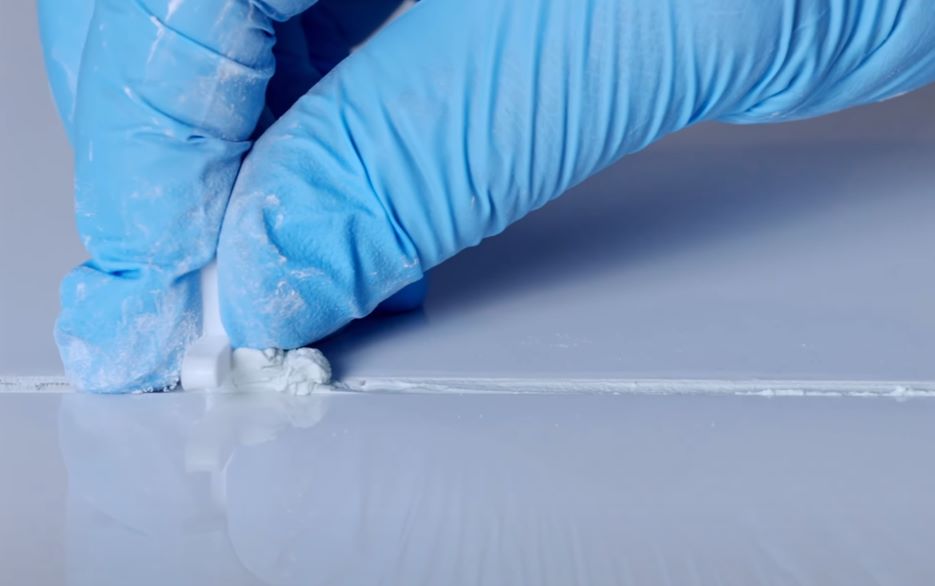
- Create Cement Paste: Mix white cement with water to form a smooth paste.
- Apply to Tile Joints: Spread the paste evenly across the tile joints to fill any air gaps, which will help reduce epoxy wastage.
- Remove Excess Cement: Use a tile spacer to scrape off excess cement, leaving about a 3mm gap. Ensure the floor is wiped clean of any dust particles.
Step 2: Mix the Epoxy
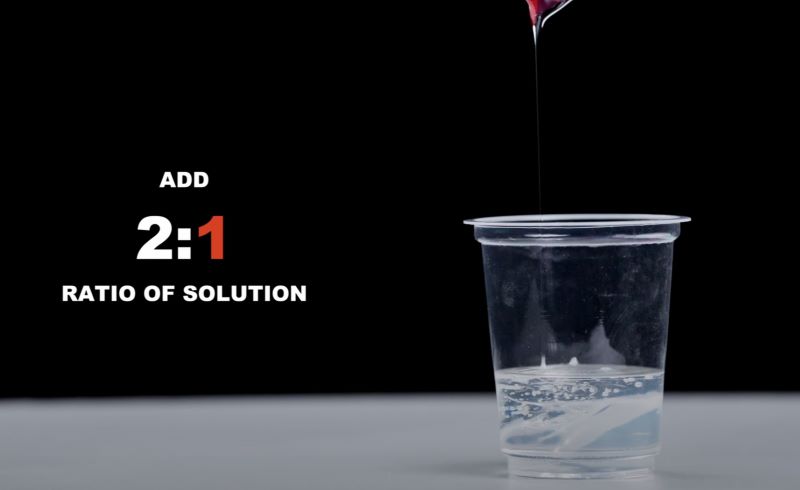
- Combine Resin and Hardener: Using the Resin Kit, mix 2 parts resin with 1 part hardener (e.g., 2 cups of resin with 1 cup of hardener).
- Add Colour Pigment: Add 8-10 drops of your chosen colour pigment—either metallic or plain—and stir thoroughly for 2-3 minutes to achieve a uniform colour.
Step 3: Apply the Epoxy
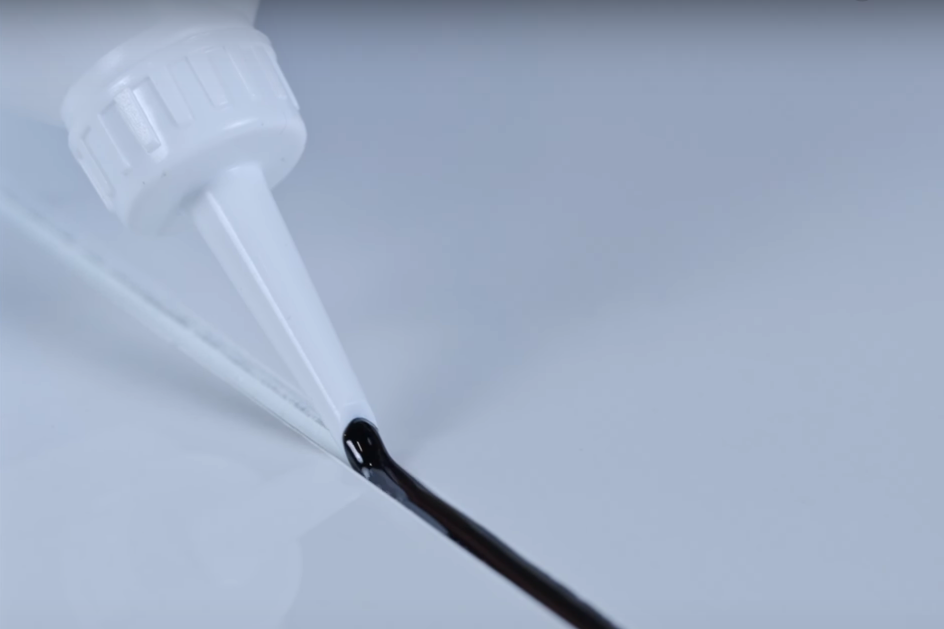
- Fill the Dispenser Bottles: Pour the epoxy mixture into dispenser bottles for easy application.
- Apply to Tile Joints: Carefully fill the tile joints with the epoxy mixture, applying gentle pressure to avoid creating bubbles or causing overflow.
- Smooth and Finish: If bubbles or overflow occur, use a scraper blade to flatten the surface. After 24 hours, peel off any excess epoxy to reveal a smooth finish.
Still confused? Watch our video to understand how to apply glass epoxy on your floor tiles
Frequently Asked Questions
What is the difference between Durofill Glass Epoxy and Glass Bond Epoxy?
There is no difference between Durofill Glass Epoxy and Glass Bond Epoxy. They are essentially the same product, with the terms “Glass Epoxy” and “Glass Bond Epoxy” being used interchangeably. The difference in names is simply due to variations in terminology or slang, but both refer to the same high-quality, glass-like finish epoxy used for tile surfaces.
What types of tiles can I use Durofill Glass Epoxy on?
Durofill Glass Epoxy is perfect for filling gaps in both floor and wall tiles. It works well on various tile materials, including ceramic, porcelain, and natural stone.
How long does the epoxy take to cure when used on tile gaps?
The epoxy typically cures within 24 hours. However, for best results and maximum durability, it’s recommended to wait 48 hours before exposing the tiles to heavy use or moisture.
Can I apply Durofill Glass Epoxy to vertical surfaces like wall tiles?
Yes, Durofill Glass Epoxy is suitable for both horizontal and vertical surfaces. When applying to wall tiles, work carefully to prevent drips and ensure an even application.
How do I clean and maintain the epoxy-filled tile gaps?
The epoxy-filled gaps are easy to clean. Simply use a damp cloth or sponge with mild soap to wipe down the surface. Avoid using abrasive cleaners or tools that could scratch the epoxy.
Is Durofill Glass Epoxy safe for use in kitchens and bathrooms?
Absolutely! Durofill Glass Epoxy is antibacterial and highly resistant to stains, making it ideal for use in kitchens, bathrooms, and other areas prone to moisture and spills.
What should I do if bubbles form in the epoxy during application?
If you notice bubbles forming, use a scraper blade to gently smooth the surface while the epoxy is still wet. For vertical surfaces, take extra care to avoid excessive pressure that might cause the epoxy to sag.
Can I use Durofill Glass Epoxy on outdoor tiles?
While Durofill Glass Epoxy is durable, it is primarily recommended for indoor use. For outdoor tile gaps, consider an epoxy designed to withstand UV exposure and varying weather conditions.
How much color pigment should I add for the best effect?
You can add 8-10 drops of color pigment to achieve a vibrant finish. For deeper or more intense colors, you may add more, but avoid exceeding the recommended amount to maintain the epoxy’s quality.
Can I apply a second layer of epoxy if needed?
Yes, if you need to apply a second layer to fill any remaining gaps or to achieve a smoother finish, you can do so after the first layer has fully cured. Ensure the surface is clean before applying the second layer.
How do I remove excess epoxy after it has cured in tile gaps?
Once the epoxy has fully cured, any excess can be carefully removed using a scraper or a fine blade. Be gentle to avoid damaging the surrounding tiles or epoxy-filled gaps.

